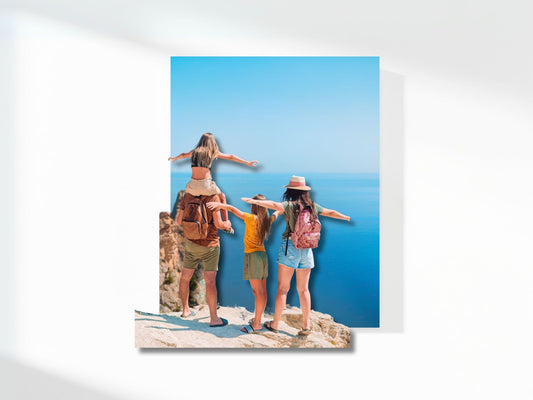
The lenticular printing technique is a fascinating technique. It's super interesting to see how these prints are put together in different ways. We use an inkjet printer for this. With an inkjet printer you ensure that the colors and depth of the print are beautifully visible in the print.
In this blog post we take you through our complete printing process. From preparing files until the print ends up in the shipping envelope.
Welcome to our behind the scenes!
Preparing files
Once customers have placed an order, we can download the files and have them 'interlaced' by our software.
This means that the files are merged into lines. This must be perfectly matched to the lens used for the final product. This is first measured by a special pitch test, after which we can enter the right number in the software and create the perfect file.
Below you can see an image of what that looks like.

To print
Once the files are ready, it's time to print! The images are printed in high quality on beautiful glossy paper. This makes the colors super beautiful and gives the end product an extra touch .
The lines of the images must fit exactly under the lines of the lenticular lens. That is why printing must be done at very high quality, otherwise the effect will be less beautiful. Every dot that the printer makes must be in exactly the right place.


Finish
Now that the images have been printed, the lenticular lens goes over the print. Lines are printed on the side of the images. Based on these lines we can align the lens perfectly.
Once the lens is in place, a small piece across the width of the lens can be taped to the paper. This way the lens stays in place.
To attach the rest of the lenticular lens to the paper, the whole thing passes through a laminating roller. The roller pushes out all the air and the lens fits nice and tight. That's really important!
Now the print is completely complete! Just cut off the edges and then it's time to pack.

Packing up
We ship the print in a cardboard shipping envelope. Before your 2 in 1 poster goes there, we first wrap the print in paper. That's extra protection and you have a present to unwrap!
The print goes in the envelope with the packing slip and a thank you note with written message. Time to ship!


