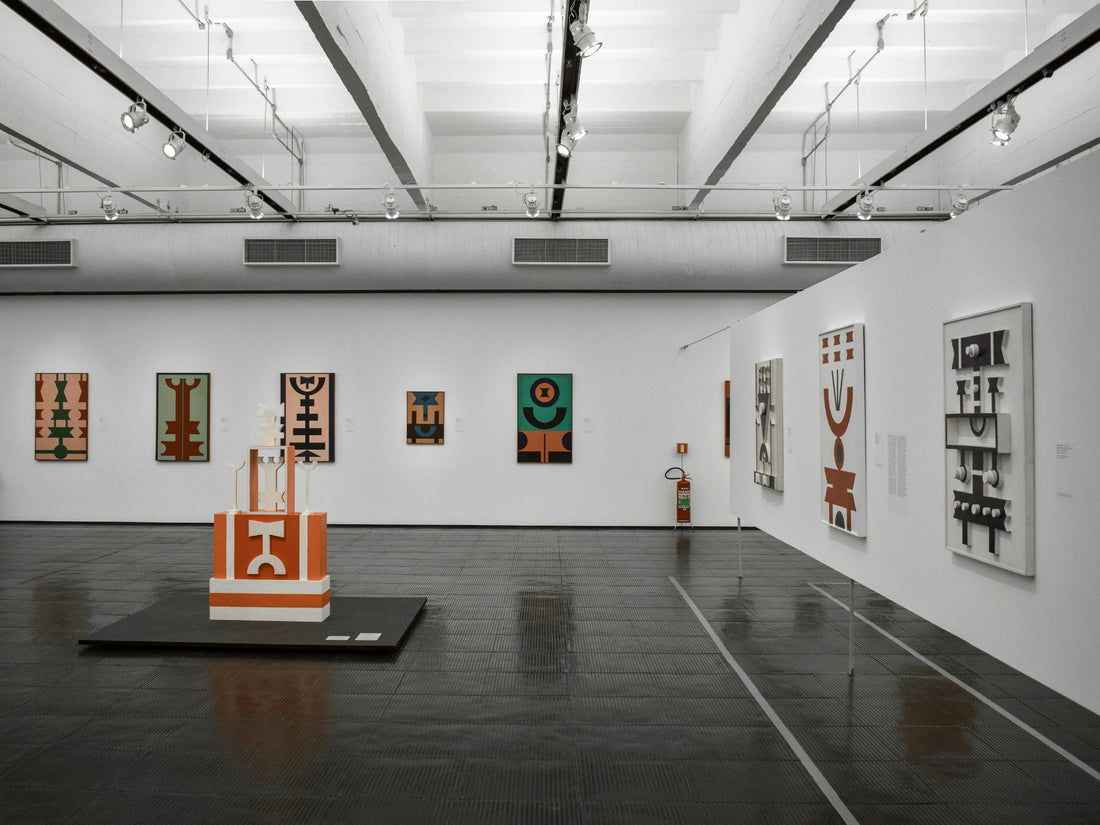
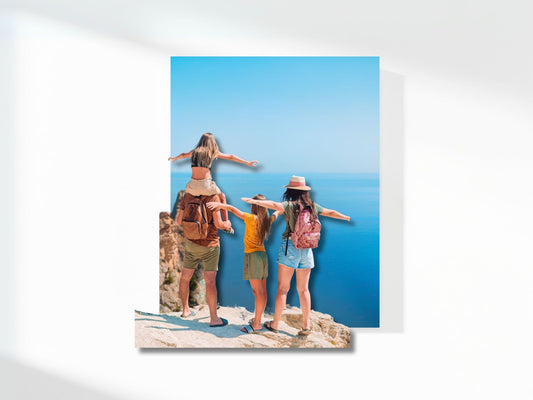
Organizing an exhibition is an art in itself. Every choice, from the prints you select to the way they are lit, contributes to your visitors' overall experience. But how do you make the right choices to ensure that your lenticular exhibition is not only visually appealing, but also leaves a deep impression? In this blog post we dive into the crucial elements that contribute to a successful lenticular exhibition. We discuss the importance of choosing the right theme, knowing your audience, optimizing viewing distance and lighting, and taking advantage of the viewing angle of flip posters. With these tips you ensure that your exhibition not only impresses, but also tells a story that will stick with your visitors.
Let's start with the first step: choosing the right prints.
Choose the right prints
When putting together an exhibition, choosing the right prints is essential. An important first step is to determine a theme for your exhibition. A theme ensures consistency and cohesion within the exhibition. This could be a specific subject, a certain style or technique, or even a personal vision. By choosing a clear theme, you can convey a larger message. For example, you can hide a larger message in the theme. Where you, as it were, put the puzzle pieces together when you walk past the prints.
It is also crucial to know your audience. Think about the type of visitors you expect: are they art lovers, students, locals or another specific audience? By considering your audience's interests and expectations, you can select images that resonate with viewers and speak to them in a deeper, more personal way.
Ensure the correct viewing distance
When using lenticular prints, which work with a lens to create a depth or moving effect, the viewing distance is very important. How well the print works depends on the correlation between the lens and the print, something that can be set while making the print. For smaller prints, a shorter viewing distance is better, while larger prints look best with a longer viewing distance of, for example, 1.5 to 2.5 meters. So when planning your exhibition, you need to take into account the distance from which people will view the prints to achieve the optimal effect.
Consider the placement of the light
Light plays a crucial role in how flip prints are perceived. The front of the print contains a plastic lens that can reflect light, which can lead to glare and reduced visibility of the print. Furthermore, this can disrupt the working of the flip effect, where one image becomes visible from a certain angle while the other can shine through if the light is not placed properly. To prevent this, it is advisable to illuminate the print from behind. This not only ensures brighter colors and a nicer presentation, but also enhances the visual effect of the print.
Pay attention to the viewing angle
Flip posters completely change images around a 50 degree viewing angle, which is a characteristic feature that makes these prints so special. This fixed corner offers various options for creative exhibition setups. For example, you can place the prints so that the exhibition forms a continuous line of changing images, or arrange certain prints so that they work together and change at the same time. By making clever use of this angle, you can create endless engaging and innovative presentations that bring your exhibition to life and provide an unforgettable experience for visitors.
By paying attention to these aspects, from choosing a theme and knowing your audience to optimizing viewing distance, light and viewing angle, you can put together an exhibition that is not only visually impressive, but also has a deeper, meaningful impact on your audience.


